
The duck dive serves as the cornerstone of your entire dive and is a fundamental skill to acquire.
A well-executed duck dive will smoothly guide you to a depth of 5 meters with minimal effort, whereas a subpar dive may leave you struggling near the surface, needlessly depleting your breath.
Unlocking the secret to a successful duck dive:
Body Positioning for a Smooth Duck Dive
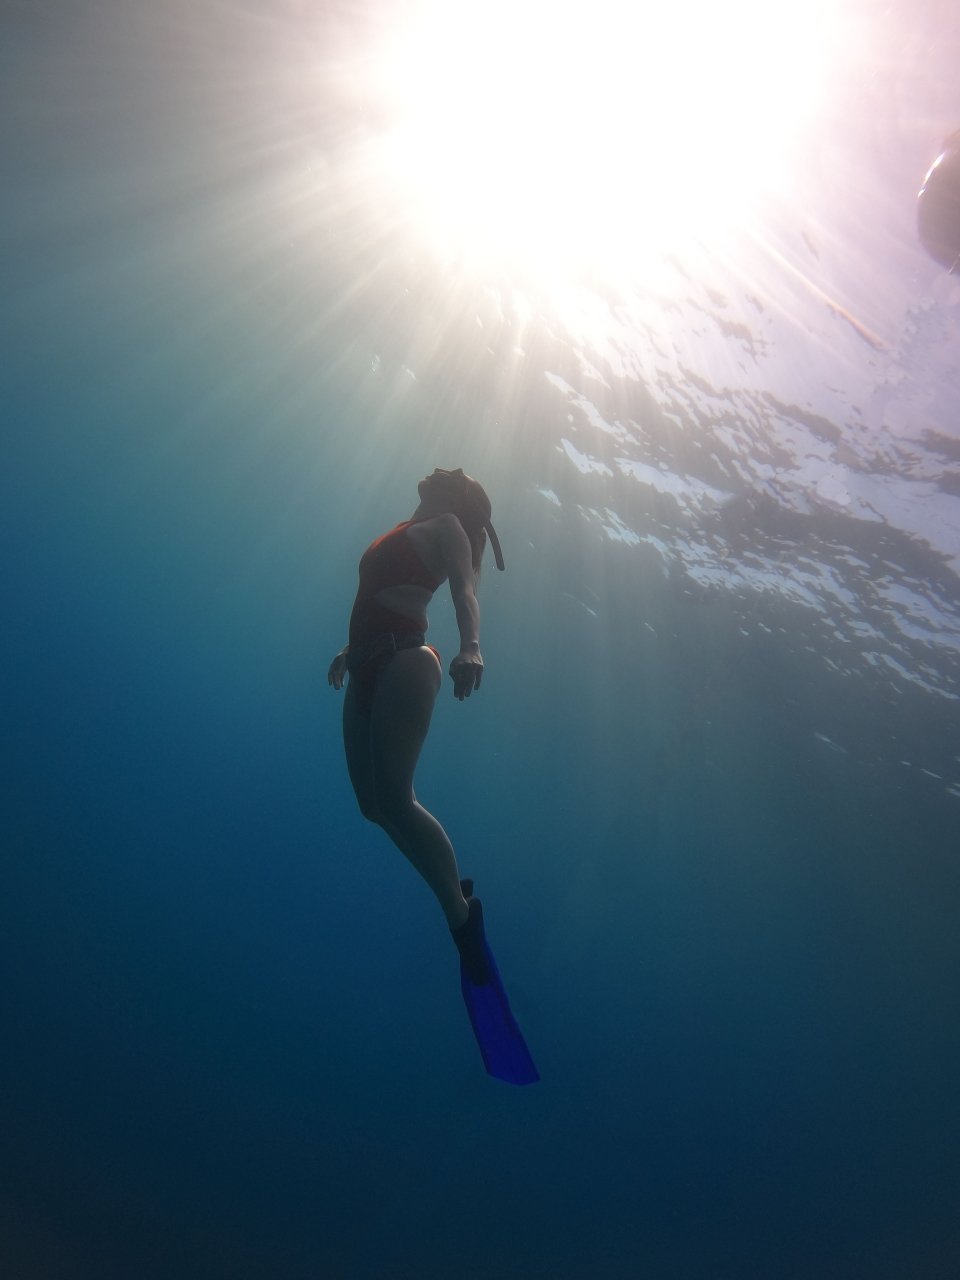
The optimal starting position for a duck dive is lying face down, breathing through a snorkel.
This position allows you to initiate the dive effortlessly. If you choose to breathe while floating on your back, you’ll need to execute a roll onto your front before submerging. However, this can be complex if you’re using a lanyard.
Breathing in an upright position requires a shift to a horizontal one to commence the dive following your final breath.
For simplicity, let’s assume you’re in the face-down position, snorkel in your mouth, and calmly breathing alongside a dive line.
Unless there’s no current, it’s beneficial to lightly grasp the line with one hand, keeping it close to your body.
This ensures it’s in the right position relative to you when you initiate the duck dive. Holding onto the line with the hand attached to your lanyard prevents it from crossing your body.
Maintain the dive line alongside you to ensure your duck dive positions you about a meter ahead of the line.
This ensures that when you start your duck dive, you’ll automatically face the dive line, maintaining the lanyard’s proximity for minimal drag.
If you can’t immediately spot the line after initiating the dive, ask your instructor or buddy to check your starting position in relation to the line.
Step 1: Snorkel, ‘Pre-Equalization,’ and Building Momentum Following your last breath, remove your snorkel and perform an equalization.
This ‘pre-equalization’ slightly inflates your eardrums outward before the dive, which can be immensely helpful.
While some may find it unnecessary, pressure changes are most intense in the first 10 meters, and this pre-inflation may help you endure until your first equalization, which can occur as late as 4 or 5 meters deep.
Step 2: Arms Forward and Down The next phase involves extending both arms forward, leading your upper body in a forward dive motion. Bend at your hips to create a right angle.
This movement should be confident and determined. Visualize yourself in a pool, reaching for the bottom.
Keep your legs perfectly straight at this point, ensuring that your body forms a 90-degree angle, bent at the hips.
Step 3: Legs Up – Propel and Maintain Momentum Now, it’s time to lift both legs out of the water simultaneously until they are vertical, restoring your body to a straight position. This natural movement generates the necessary momentum to effortlessly submerge yourself without any extra exertion.
To grasp this concept better, try this: float upright in the water with your head above the surface, then raise both your arms together over your head.
As you do this, your head will naturally dip below the water. Simply lifting your arms is enough to achieve this effect.
Similarly, when you raise your legs vertically out of the water as part of the duck dive, it significantly aids in propelling you beneath the surface.
Beginners sometimes encounter challenges such as bending their legs, spreading them apart, failing to reach a fully vertical position, or extending them too far over.
If you experience difficulties, rely on your buddy and instructor for guidance in understanding and addressing these issues.
Step 4: Pull and Equalize – Underwater Transition Once your legs are vertical, bring both arms back to your body’s sides, using a scooping, breaststroke-like motion.
Afterward, one hand should make its way to your nose to initiate equalization. You will keep it there for the duration of the dive (more on equalization in a later chapter).
A common mistake is prematurely pulling your arms toward your body when they are still extended underwater.
It’s crucial to wait until your legs are fully vertical before initiating the arm pull. If you find yourself needing more than one arm pull, something may have gone amiss.
Step 5: Start Finning – Descend Smoothly As soon as your arms have completed their pull and you’ve successfully equalized, commence finning.
If you execute these steps consecutively and seamlessly, your fins will be completely submerged when you make your first substantial equalization, placing you at a depth of approximately 5 meters.
Effective and robust finning is crucial in the initial meters of your dive to maintain the depth achieved through a well-executed duck dive.
Go here to read our other posts.

Add Comment